NM Collector Software JE (Java Edition)
Home Inventory Example
Demonstrates:
- Creation of new Collection Type
- Creation of new Field Labels
- Creation of new Drop Down Lists
- Select Manage > Define Collection Types
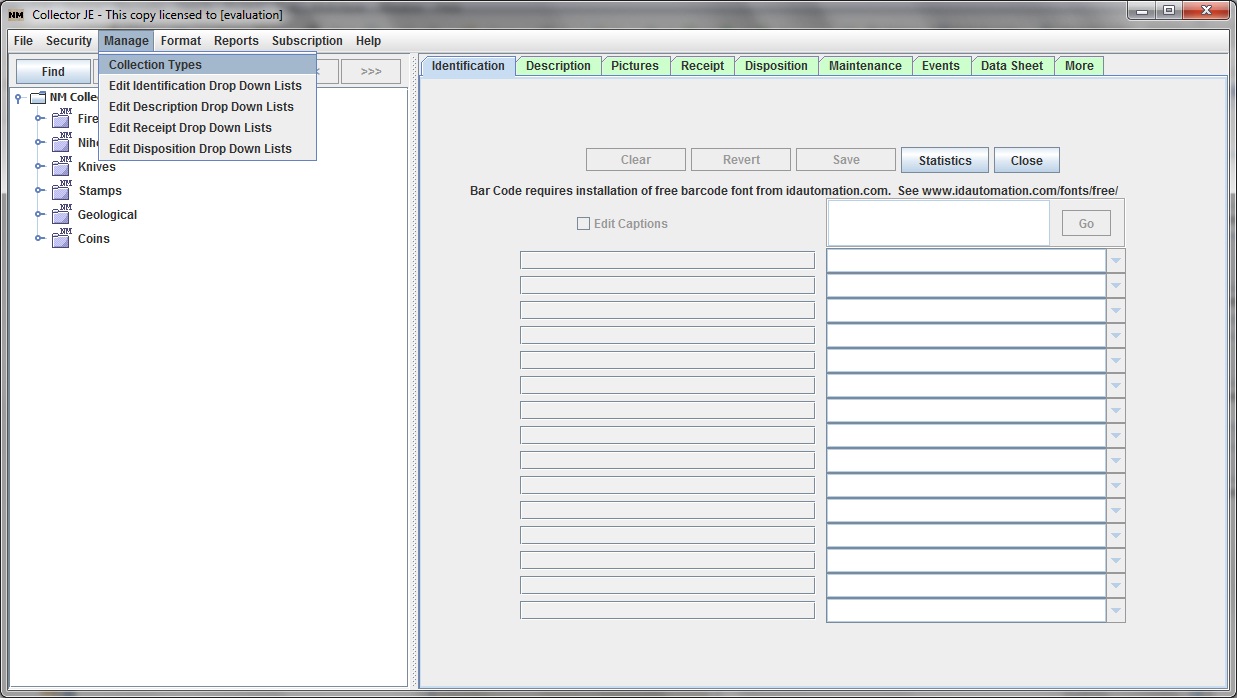
- Here you will find listed all of the currently defined collection types and whether or not they appear in the tree

- Click the Insert button.� A new row is added with default values

- Type in new values for the Name and Description

- While we are here, let us hide unused collection types by unchecking the Show In Tree column

- Click the Close button to continue.� Now your main window looks like this

- Click in the new Home Inventory folder in the tree view and check Edit Captions

- Now start typing captions for the fields that you want to use.� Keep in mind that this tab is for information used to identify items.� The Description tab is for other information.� So we will limit our entries on this tab to the very basic information required for identification only.

- Now click the Description tab.� Note that some captions are already provided for you.� You can change the Date captions but the Values are used in the built in statistics so you can not change their captions.

- Here Edit Captions has been checked and all of the desired captions have been entered.� Notice that I added �Purchase Price� and �Date Purchased� fields.� These will become part of the Receipt information in a future release when that becomes available.� However, it can be easily added and recorded here for now.

- Now we are ready to start entering data.� First let�s switch to the Identification tab and make sure our Home Inventory collection type is selected in our tree view.� Now we click the �Ins� button and a new item (with a generated default tree label) is added to our tree view under our Home Inventory collection type.� Now we are ready to start typing in values for this new item starting with the Item field.

- At this point I realize that I probably want to record location some where.� I could add a new location Caption in the description tab but I have decided to do something different.� Instead, I will create location folders.� I will then create items in those location folders.�
- I start by selecting �Home Inventory� in the tree view and then clicking the �Ins� button.� I then type �Living Room� into the Item field.� I then repeat the process for each location folder until my tree view looks as follows.� You can always create new location folders later as you need them.

- Now, I want to add an item that is located in my living room.� I select the Living Room item in the tree view and press the �Ins� button.� This causes �Living Room� to become a folder and creates a new item within it.

- Here I have entered (but not yet saved) identification information for my first item. �Note that you have to hit enter or tab out of the field to record the new value.� This will add that value to the drop down list for future reference.� Click the Save button to actually save the changes to the new item. �I will now click the Save button and switch to the Description tab.

- Here I have entered (and saved) some description information.�

- Now I will enter more living room items.� I select the �Living Room� folder and click �Ins� for each item.
