Since you can manage multiple collections with NM Collector Software and you can edit the captions for any collection, getting started may seem a little difficult at first. However, if you follow these steps to get started you will quickly understand how it works.
Prerequisite: Start NM Collector on your system
-
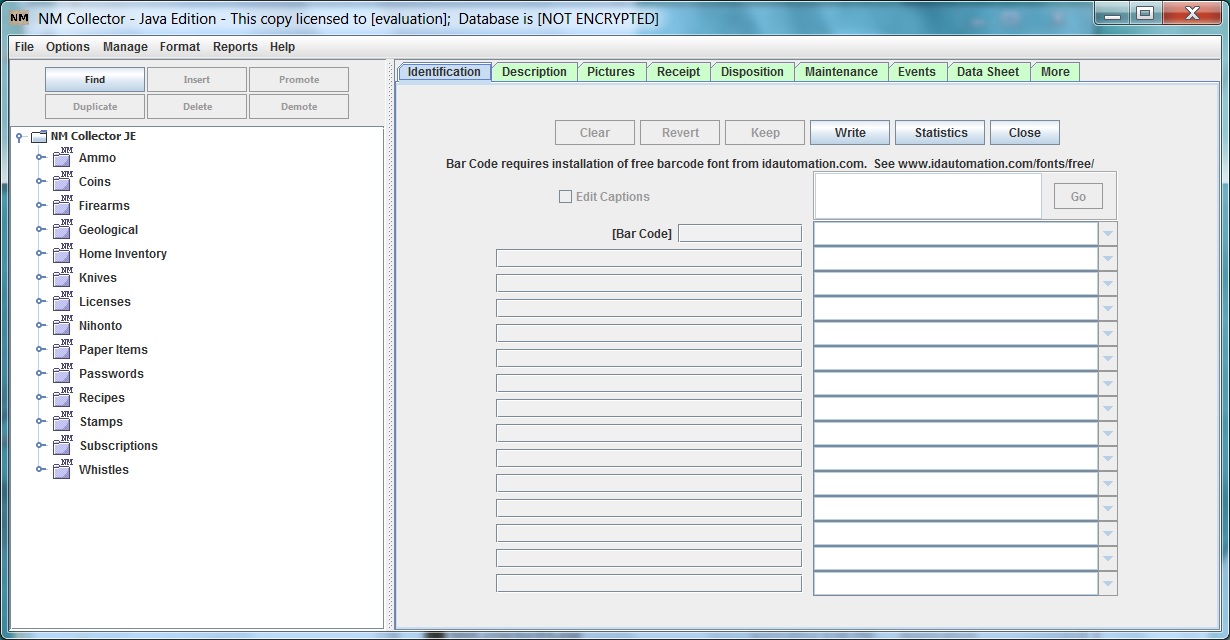
This is how the software looks when you initially start it. The program does not know what collection type you want to work with let alone where to add an item!
-
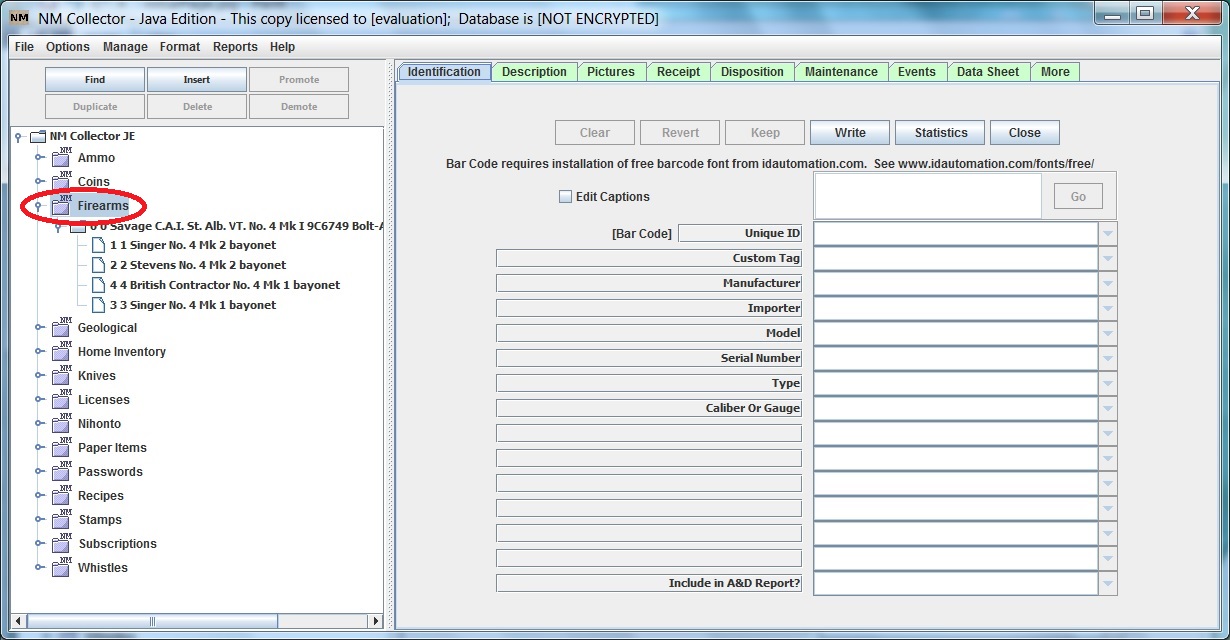
Select a collection type that you want to add an item to. At this point you can add an item to the selected collection type. You can also edit the field captions.
-
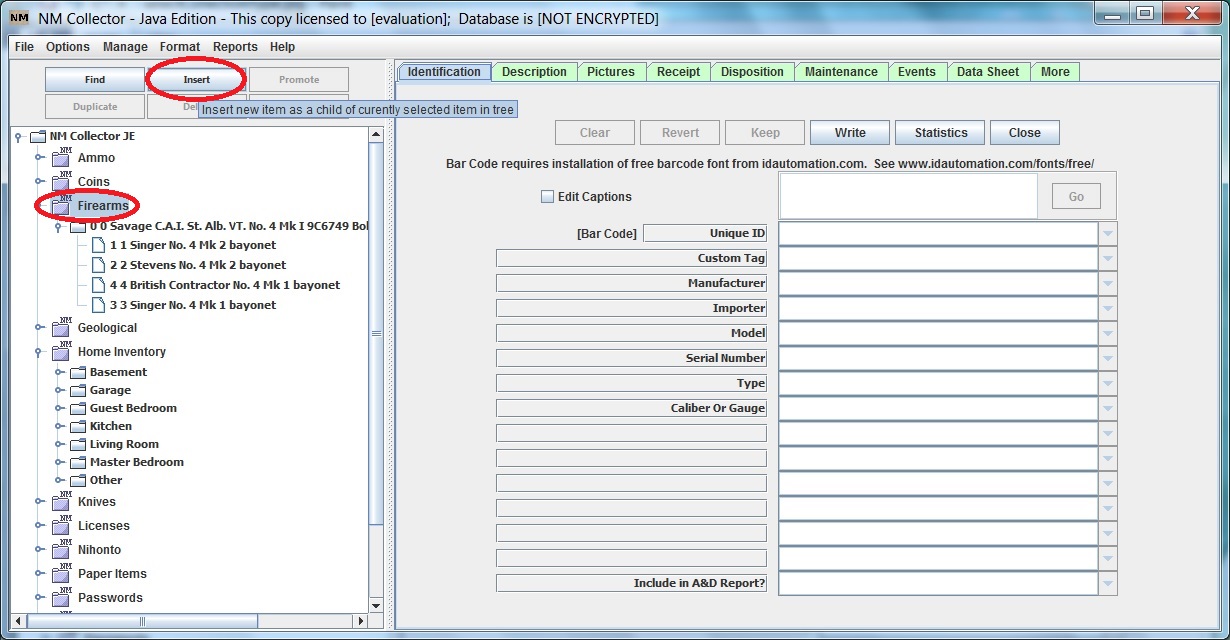
Click the “Insert” button to insert an item into the selected collection. The reason for an “Insert” button rather than an “Add” button is that it will insert the item in the selected location of the treeview. You can play with it to see how it works or visit these pages for more examples.
-
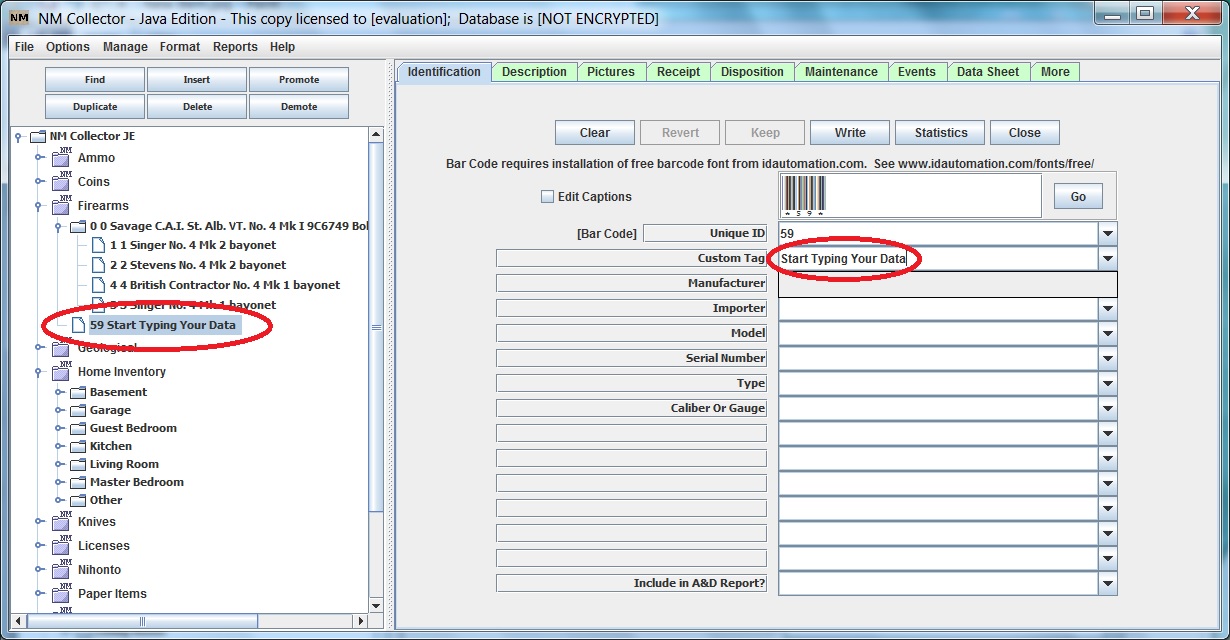
Now you can start entering data for your new item! To edit the data later simply select the item from the treeview.